In my previous posts on AI content optimization, I focused on two critical elements: how content chunking minimizes hallucination and how vector embeddings enable semantic matching. I covered recommendations like using structured formats, question-and-answer sets, and conversational language to improve both content quality and discoverability.
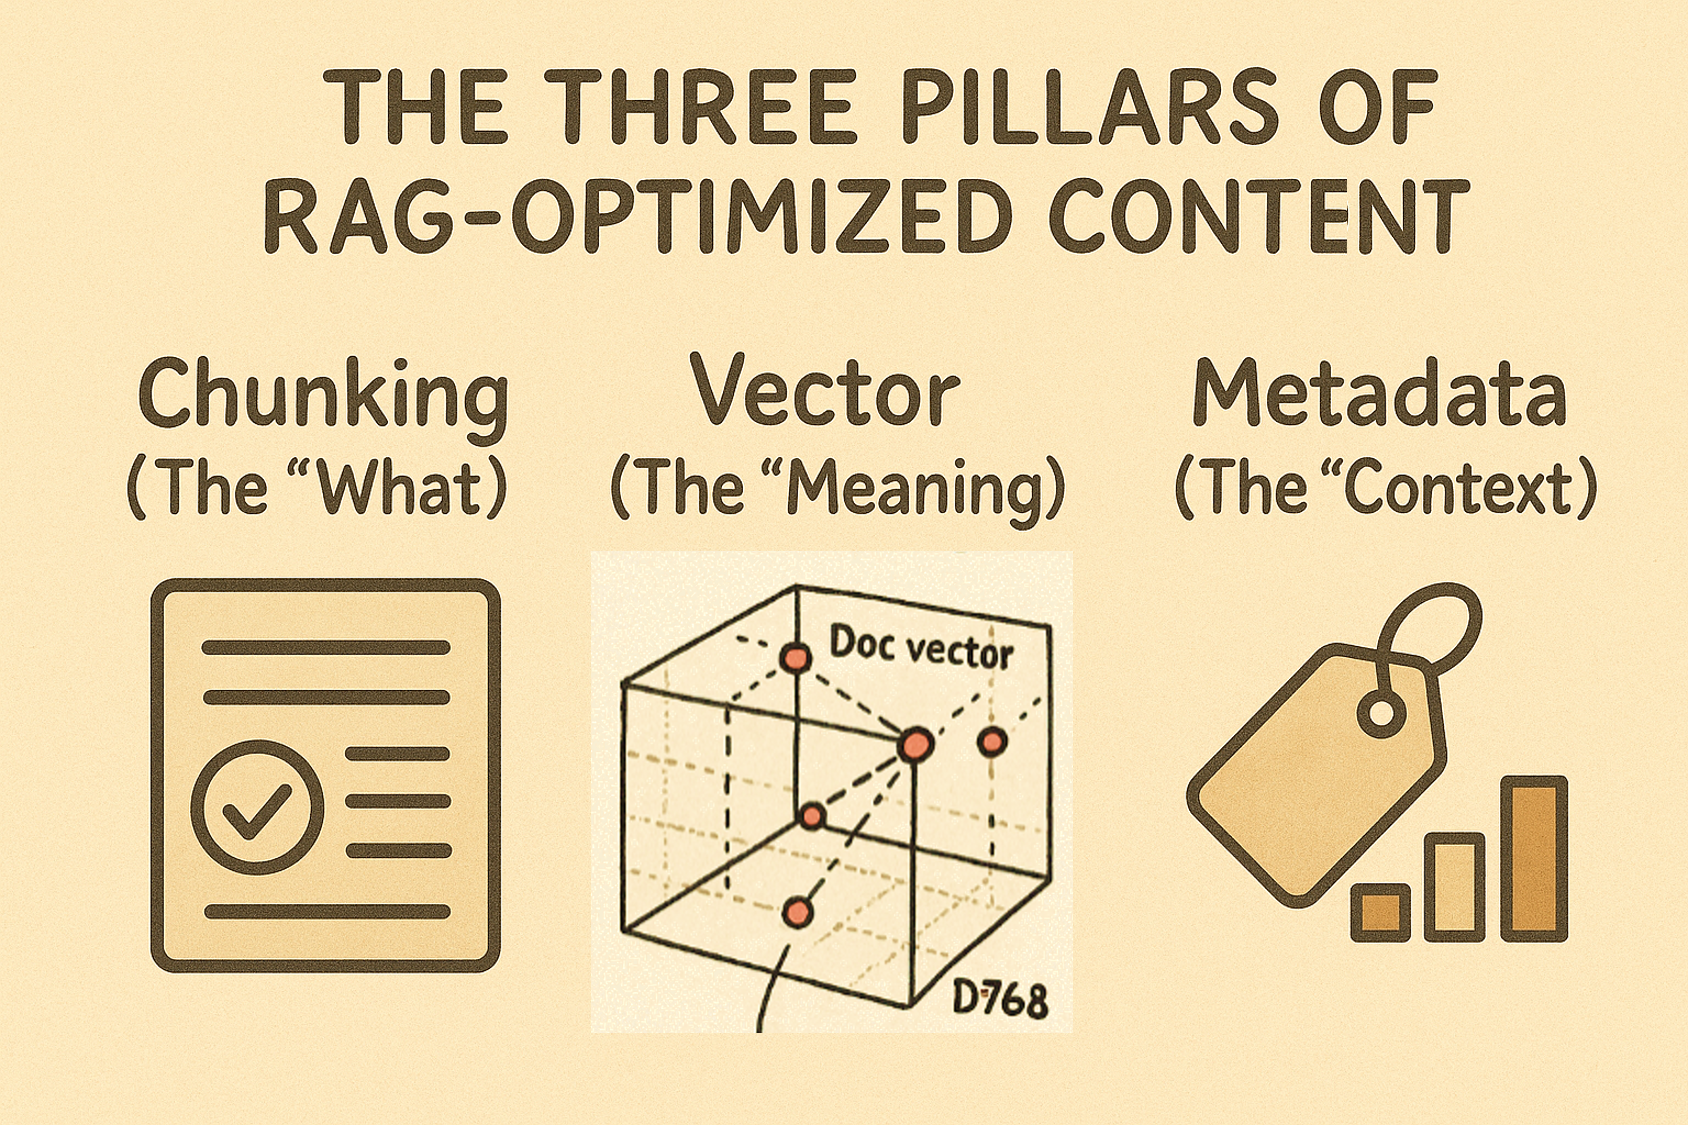
But I didn’t dive deep into the third pillar that makes RAG truly powerful: metadata. While chunking handles the “what” of your content and embeddings capture the “meaning,” metadata provides the essential “context” that transforms good retrieval into precise, relevant results.
The Three Pillars of RAG-Optimized Content

Chunking (The “What”): Breaks content into digestible, topic-focused pieces
- Structured formats with clear headings
- Single-topic chunks
- Consistent templates
Vector Embeddings (The “Meaning”): Captures semantic understanding
- Question-format headings
- Conversational language
- Semantic similarity matching
Metadata (The “Context”): Provides situational relevance
- Article type and intended audience
- Skill level and role requirements
- Date, version, and related topics
To understand why richer metadata can provide better context, we need to understand how vector embeddings are stored in vector database. After all, when RAG compare and retrieve chunks, it searches inside of the vector database to find semantic match.
So, what a vector record (the data entry) in a vector database looks like?
What’s Inside a Vector Record?
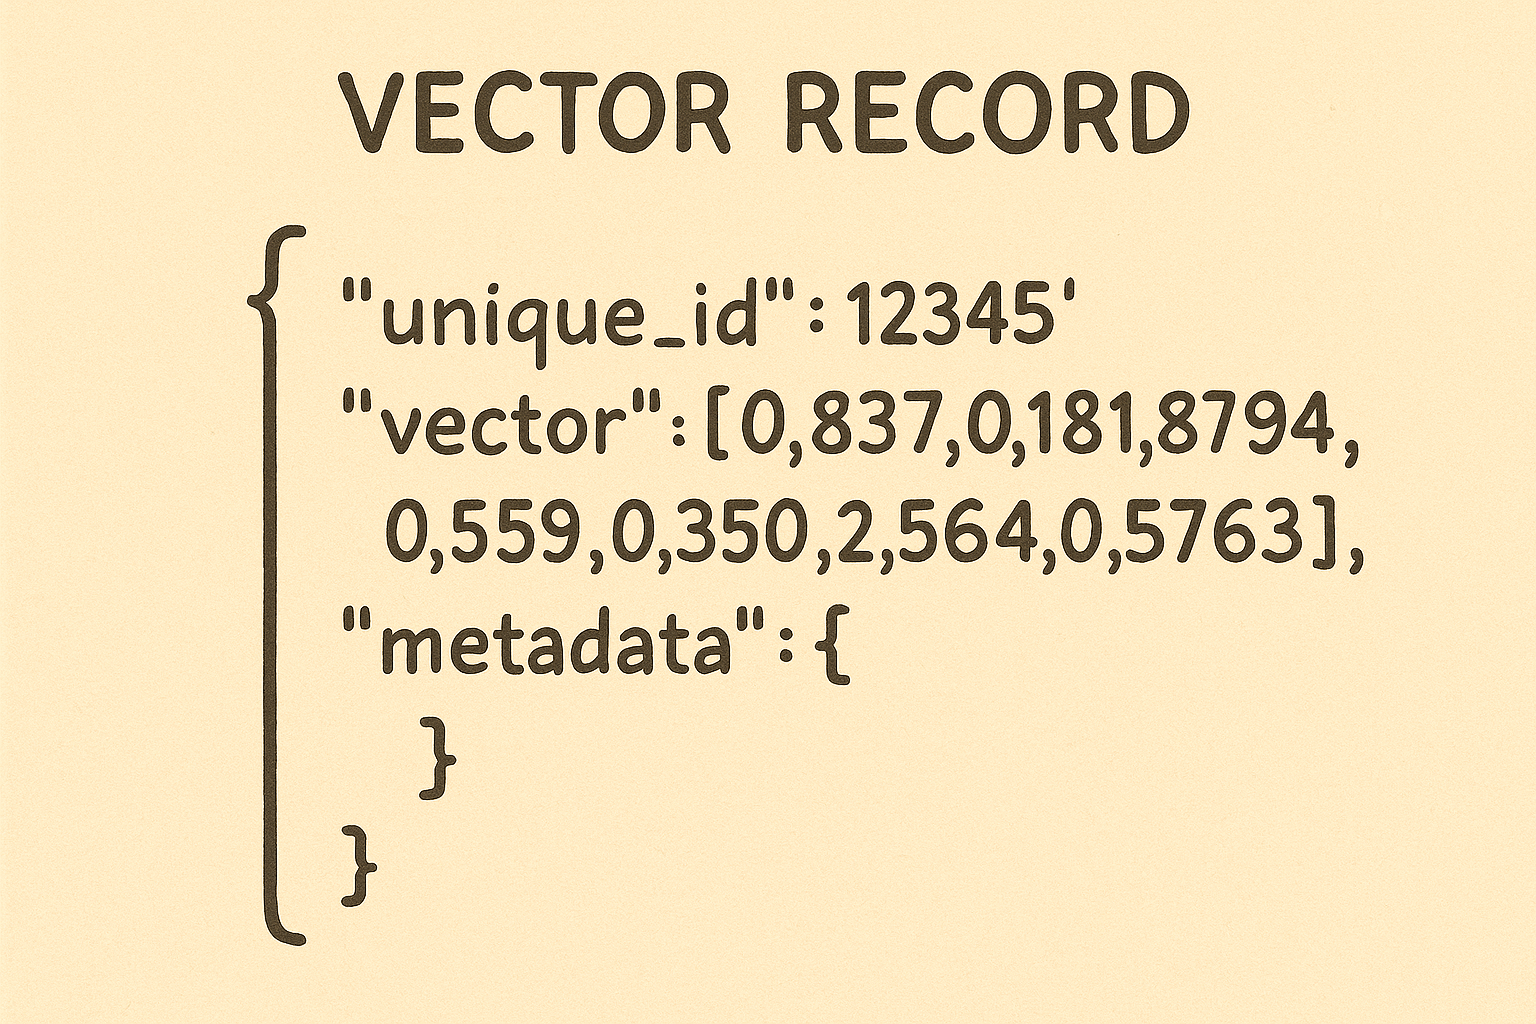
A vector record has three parts:
1. Unique ID A label that helps you quickly find the original content, which is stored separately.
2. The Vector A list of numbers that represents your content’s meaning (like a mathematical “fingerprint”). For example, text might become a list of 768 numbers.
Key rule: All vectors in the same collection must have the same length – you can’t mix different sizes.
3. Metadata Extra tags that add context, including:
- Platform info: Creation date, source, importance level
- Content details: Title, author, publication info
- Chunk info: Details about this specific piece of content
This structure lets you search by both meaning (vectors) and context (metadata) for more precise results. (Vector databases and metadata filtering)
How RAG Search Combines Vector Matching with Metadata Filtering
RAG (Retrieval-Augmented Generation) search combines vector similarity with metadata filtering to make your results both relevant and contextually appropriate. The RAG framework was first introduced by researchers at Meta in 2020 (see the original paper)::
Vector Similarity Matching When you ask a question, the system converts your question into a vector embedding (that same list of numbers we discussed). Then it searches the database for content vectors that are mathematically similar to your question vector. Think of it like finding documents that “mean” similar things to what you’re asking about.
Metadata Context Enhancement The system enhances similarity matching by also considering metadata context. These metadata filters can be set by users (when they specify requirements) or automatically by the system (based on context clues in the query). The system considers:
- Time relevance: “Only show me recent information from 2023 or later”
- Source credibility: “Only include content from verified authors or trusted platforms”
- Content type: “Focus on technical documentation, not blog posts”
- Geographic relevance: “Prioritize information relevant to my location”
This combined approach is also more efficient – metadata filtering can quickly eliminate irrelevant content before expensive similarity calculations.
The Combined Power Instead of getting thousands of somewhat-related results, you get a curated set of content that is both:
- Semantically similar (the vector embeddings match your question’s meaning)
- Contextually appropriate (the metadata ensures it meets your specific requirements)
For example, when you ask “How do I optimize database performance?” the system finds semantically similar content, then prioritizes results that match your context – returning recent technical articles by database experts while filtering out outdated blog posts or marketing content. You get the authoritative, current information you need.
What This Means for Content Creators
Understanding how metadata works in RAG systems reveals a crucial opportunity for content creators. Among the three types of metadata stored in vector databases, only one is truly under your control:
Automatically Generated Metadata:
- Chunk metadata: Created during content processing (chunk size, position, relationships)
- Platform metadata: Added by publishing systems (creation date, source URL, file type)
Creator-Controlled Metadata:
- Universal metadata: The contextual information you can strategically add to improve intent alignment
This is where you can make the biggest impact. By enriching your content with universal metadata, you help RAG systems understand not just what your content says, but who it’s for and how it should be used:
- Intended audience: “developers,” “business stakeholders,” “end users”
- Role requirements: “database administrator,” “product manager,” “customer support”
- Skill level: “beginner,” “intermediate,” “expert”
- Product version: “v2.1,” “legacy,” “beta”
- Customer intent: “troubleshooting,” “implementation,” “evaluation”
When you provide this contextual metadata, you’re essentially helping RAG systems deliver your content to the right person, at the right time, for the right purpose. The technical foundation we’ve explored – vector similarity plus metadata filtering – becomes much more powerful when content creators take advantage of universal metadata to improve intent alignment.
Your content doesn’t just need to be semantically relevant; it needs to be contextually perfect. Universal metadata is how you achieve that precision.